Get to know Carla Mintz, the artist behind Arie Debren Art. My blog is like my personal art diary that I share with the world. Here you get to read about my inner most thoughts.
The eyes are the windows to the soul. When drawing, you can use your subject's eyes to deliver various types of messages to your audience. For example, the eyes can tell the viewer how old the subject is, their gender, their race, and what emotion they're trying to portray. This is why knowing how to draw eyes accurately is so important for portrait artist.
Here are some tips for drawing eyes:
1. Use a good reference photo.
When attempting to draw something realistic, it's always helpful to have a good quality reference that you can use to help guide you through the drawing process. Make sure the photo has good lighting. Also keep in the mind the size of the photo. Using a super tiny photo will make it extremely difficult to see details. The most ideal size would be about an 8x10.
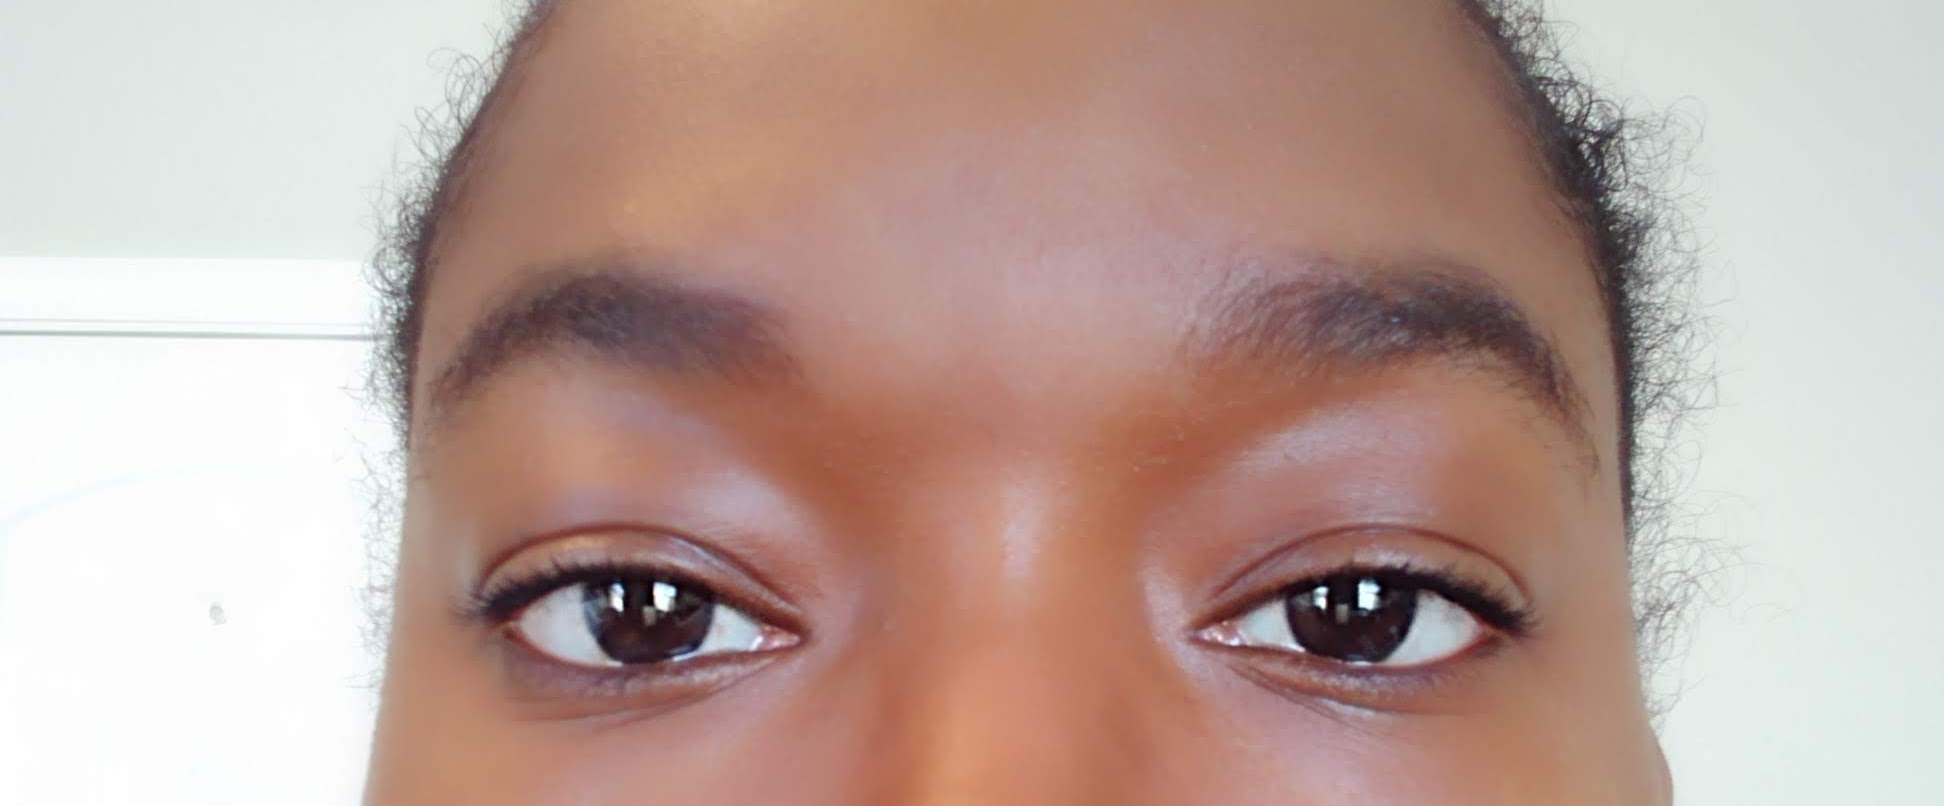
Where can you get a good reference photo you ask? Well, you can take the reference photo yourself. You don't need a fancy camera. Just use your cellphone and natural lighting. I took this reference photo of my eyes using my cellphone and standing in front of a window.
Some other options are checking out photos on Pinterest or Google Images. Keep in mind that many of these photos are copywritten so if you plan on selling your drawing these sites may not be a good idea. Royalty free options include Pexels, Unsplash, and Pixabay.
2. Draw Basic Outline
After locating the perfect reference photo, you can now start drawing the basic outline of the eyes. I start this by measuring how wide each eye is and the space between the eyes (pro tip: they are usually the same size).Put marks on your drawing paper designating these measurements. Draw circles (these will be the irises of each eye) in the middle of the spaces that represent the length of the individual eyes.
Now, referring to your reference photo, add the lines that represent the eyelids. Make sure you are intersecting these lines with the circles at the right spot.
Erase any excess part of the circle that is sticking out of the eyelids.
Add in the pupils (dark circles in the middle of the eyes). Take a look at your reference photo and notice the highlights in the eyes. Draw in those highlight shapes as well. Fill in the pupil with your pencil. leaving those highlight shapes white.
Add eyelashes.
Locate the corner of the eyes and follow that up to where the eyebrows start in your reference photo. Add in the shape of the eyebrows.
3. Add Shading
Continuing to use your reference photo as a guide, start to add in shading to make the eyes look more real. Start with the darkest area first and work your way to the lightest areas.
I hope you are now more confident in your ability to draw eyes. If this was helpful please leave a comment below to let me know.


Comments
Post a Comment